
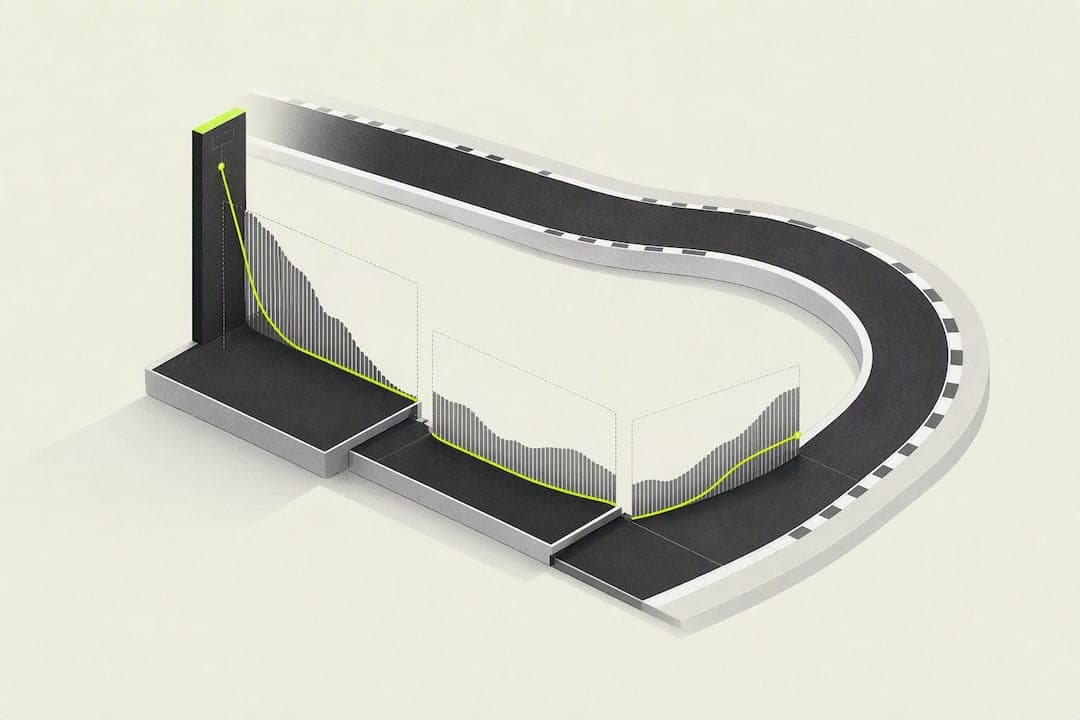
Trail braking means holding partial brake pressure past your turn-in point and easing it off gradually as you add steering lock. In F1 26, it keeps the front tires loaded through corner entry, which sharpens rotation, cuts understeer, and sets up an earlier, stronger throttle application on exit. Done sloppily, it also snaps the rear loose. Master the smoothness, not just the timing, and the lap time follows.
TL;DR:
- Proper trail braking involves smooth, gradual brake release that matches steering input, optimizing front grip without risking rear instability.
- Excessive trail or abrupt release can cause oversteer, especially on cold tires or in low-grip conditions, and should be adjusted based on corner type and setup.
- Focus on establishing consistent threshold braking and gradually applying trail into multiple corners to improve exit speed and overall lap time.
- Using lap analysis tools can help identify abrupt brake releases and fine-tune technique for maximum cornering efficiency.
- Adjust brake bias and sensitivity settings to enhance control, especially when transitioning between different circuit conditions or driving aids.
Table of Contents
- What Is Trail Braking and Why Does It Change Grip?
- How to Trail Brake, Step by Step
- When Trail Braking Helps and When to Leave It Alone
- Fixing the Most Common Trail Braking Mistakes
- A Practice Plan for Learning Trail Braking in F1 26
- Applying Trail Braking on Different F1 26 Circuits and Conditions
- Reading Telemetry and Setup Signals for Trail Braking
- What Actually Separates Fast Trail Brakers From Everyone Else
- Turn Trail Braking Data Into Lap Time With Virew
- Sources
What Is Trail Braking and Why Does It Change Grip?
Every tire has a finite amount of grip to split between braking, cornering, and accelerating. That's the traction circle: push hard in one direction and you have less available in another. Under straight-line braking, all of that grip goes to slowing the car. Trail braking works because it shifts some of that grip budget toward cornering while you're still shedding speed.
Here's the mechanical reason it works. When you brake, weight transfers off the rear axle and onto the front tires, pressing them harder into the track and increasing the front's lateral grip capacity right when you need to turn the car. Release the brake too early and that front weight lifts off before you've finished asking the nose to rotate, so you get understeer and a wide entry. Carry brake pressure a little longer, tapering it as steering angle builds, and the front stays planted long enough to rotate the car into the corner.
The tradeoff cuts both ways. Trailbraking loads the front tires and can unload the rear, and if you trail too deep or release the brake abruptly mid-corner, that unloaded rear axle loses grip and steps out. The technique effectively shortens the corner: you're still slowing down while you're already turning, which means less time spent at a fixed radius and more time already pointed toward the exit.
- Front-loaded weight transfer increases available front grip during turn-in.
- Braking and cornering forces share the same tire grip budget, so both must be managed together.
- A shorter effective corner radius means an earlier, faster exit.
- Excess trail unloads the rear axle and triggers oversteer.
Pro Tip: Think of brake release as a dimmer switch, not a light switch. The smoother the fade, the more predictable the rotation.
How to Trail Brake, Step by Step
Trail braking isn't one input, it's a handoff between two pedals and the wheel, all layered on top of each other. Here's the sequence that works in F1 26, corner after corner.
- Hit peak brake pressure in a straight line. Get your hardest braking done before you start turning, right at or just before your normal turn-in marker. This is where most of your speed comes off.
- Start easing brake pressure as you introduce steering. Threshold brake first, then trail off smoothly as you add lock, rather than snapping off the brake and cranking the wheel a beat later. The two inputs should overlap, not follow each other.
- Match the rate of release to the rate of steering increase. More steering angle should correspond to less brake pressure, in a continuous curve rather than a series of steps.
- Finish trailing off the brake at or just before the apex. By the time you hit the apex, your foot should be fully off the brake pedal, transitioning to a light throttle input.
- Roll into throttle as the wheel starts to unwind. The earlier you can add power while still holding some steering angle, the faster your exit speed will be.
On a gamepad, the trigger's analog range makes this progressive release genuinely learnable, but dead zones and heavy trigger vibration settings can mask the fine pressure control you need. On a wheel and pedal set, load-cell brakes give you the clearest feedback for this kind of graduated release, but even a basic potentiometer pedal is workable once you dial in the right F1 26 brake saturation and sensitivity curve.
Pro Tip: If you're using a gamepad, try lowering brake saturation slightly in the F1 26 settings menu. It gives you a longer, more usable range of trigger travel to modulate pressure through, instead of the brake doing most of its work in the last 10% of trigger pull.
When Trail Braking Helps and When to Leave It Alone
Trail braking isn't a default setting you switch on for every corner. It's a tool for specific situations, and using it in the wrong one costs you time instead of saving it. Slow and medium-radius corners benefit most, especially hairpins and anything with a decreasing radius, because you need maximum rotation without carrying big speed.
- Blind or off-camber corners reward the extra front grip since you're committing to the apex before you can fully see the exit.
- Fast sweepers and high-speed kinks rarely benefit. There's little rotation needed, and trailing brake there mostly just destabilizes the car for no gain.
- Cold tires and heavy rain shrink your margin for error. Reduce how much you trail and prioritize stability until grip and temperature are where you expect them.
- Session type changes the calculus. In Qualifying, an aggressive trail can find you a tenth on a single flyer if you nail it. In a Race, that same aggression, repeated for 50 laps, invites a costly mistake or extra tire wear on the front-left and front-right.
Setup matters too. More front aero or a front-biased brake balance gives you a bigger window to trail safely; a rearward brake bias shrinks it fast.
Fixing the Most Common Trail Braking Mistakes
Most trail braking problems trace back to one of a handful of habits, and each has a specific fix.
- Sudden oversteer mid-corner usually means you trailed too deep or let off the brake too abruptly. Ease your release earlier and stretch it over a longer window instead of holding full pressure and dumping it.
- Front lock-up or constant ABS chatter means your peak brake pressure is too high for the grip available. Back off the initial bite slightly and build pressure in a smoother ramp rather than stabbing at the pedal.
- Copying a faster driver's brake trace without understanding why it works is a trap. Build your own consistent exit first, then work backward into a later, deeper braking point.
- Persistent instability under trail that shows up corner after corner often isn't a technique problem at all. Check your brake bias, differential-on-throttle setting, and rear aero before you keep blaming your inputs.
Pro Tip: If the rear only snaps loose on one or two specific corners, it's almost always a track-specific setup issue, not a technique issue. If it happens everywhere, it's your inputs.
A Practice Plan for Learning Trail Braking in F1 26
Trail braking rewards a staged approach far more than trying to nail it everywhere at once. A three-phase progression built around exit quality first protects your consistency while you build the skill.
- Phase 1: Straight-line braking consistency. Pick one corner in Time Trial and brake at the exact same reference marker for ten consecutive laps, no trail yet. The goal is a repeatable, threshold-level stop every single time.
- Phase 2: Single-corner trail reps. Add a small amount of trail past turn-in on that same corner, focusing entirely on exit speed rather than how late you brake. If the exit gets worse, you've trailed too much or released too abruptly.
- Phase 3: Expand and compress. Once one corner feels repeatable, apply the same process to two or three more corners on the lap, then start nudging your braking point later in small increments, a car length at a time.
Track your progress with a few concrete numbers rather than gut feel:
| Metric | What to watch | Sign of improvement |
|---|---|---|
| Exit speed | Speed at track-out point | Rising over consecutive laps |
| Steering unwind | How smoothly lock comes off exiting | Fewer correction inputs |
| Lap delta | Time gained specifically in that corner sector | Consistent gain, not just one lucky lap |
The point everyone underestimates: your lap time doesn't drop because you're braking later. It drops because a cleaner exit lets you carry speed onto the following straight, and that gain compounds every meter down the straight. Chase the exit, and the later braking point tends to follow naturally once your confidence catches up.
Applying Trail Braking on Different F1 26 Circuits and Conditions
Your controller setup determines how much of this technique you can actually access. Brake mapping, deadzones, and trigger sensitivity change how precisely you can modulate pressure through the release phase, so it's worth tuning these before you blame your driving.
- Gamepad users should check brake saturation and deadzone settings; too large a deadzone eats the fine control you need for a gradual taper.
- Wheel and pedal users benefit from checking brake pedal linearity, since a non-linear curve can make the early, light-pressure phase of a trail feel twitchy.
- Wet conditions demand a different approach entirely. Reduce your trail amount and prioritize a stable, predictable entry over maximum rotation, since the lower grip ceiling leaves almost no margin for an abrupt release.
- Qualifying rewards a more aggressive trail on your single push lap, where a small oversteer moment costs a tenth but a clean rotation gains three.
- Race pace favors a more conservative trail, both to protect front-left tire wear over a long stint and to avoid a costly spin under pressure from a car behind.
This is exactly the kind of detail that's hard to self-diagnose from feel alone. A lap analysis that overlays your brake trace against steering input shows you precisely where your release gets abrupt instead of progressive, corner by corner, which is a lot faster than guessing from memory after the session.
Reading Telemetry and Setup Signals for Trail Braking
A correct trail braking trace has a distinct look: brake pressure decays smoothly as steering angle ramps up, with no sudden drop or flat spot, and throttle comes in early with a steady, uninterrupted steering unwind on exit.
- A jagged, stepped brake trace instead of a smooth curve means your release is happening in pulses, not a continuous taper. That's usually a controller sensitivity issue or an input habit worth drilling in isolation.
- First setup checks when balance feels off: brake bias (try shifting it slightly forward for more front bite), ABS setting if you're running assists, and differential-on-brake or on-throttle values.
- A sudden rear snap points to too much trail or too aggressive a release; a gradual, building slide usually points to a setup issue like rear wing angle or rear tire pressure rather than your inputs.
What Actually Separates Fast Trail Brakers From Everyone Else
Most drivers treat trail braking as a braking-point problem: brake later, go faster. Data consistently shows it's really an exit-quality problem wearing a braking costume. Rookies who chase a later brake marker before their exits are consistent tend to plateau or get slower, because every small inconsistency in the trail gets amplified on the way out of the corner. Intermediate drivers who instead lock in a smooth, repeatable exit first typically see their braking point move later on its own within a few sessions, without consciously forcing it. The skill embeds fastest when you stop watching the brake pedal and start watching the exit speed number.
— Virew
Turn Trail Braking Data Into Lap Time With Virew
Reading your own brake trace on a static graph only tells you so much. Virew is built to translate that trace into specific, corner-by-corner coaching: it measures brake pressure decay, how well your steering input syncs with that release, and the exit speed you actually carry onto the next straight.
Upload a lap from F1 26 on PlayStation, Xbox, or PC, and Virew's lap analysis flags exactly which corners have an abrupt release instead of a smooth taper, then turns that finding into a specific practice mission rather than a vague "brake later" note. If you want the fuller picture of where else you're losing time beyond corner entry, the guide to getting faster in F1 26 walks through the other levers worth checking first. Run your next session, upload the lap, and see exactly where your trail braking is costing you time.