
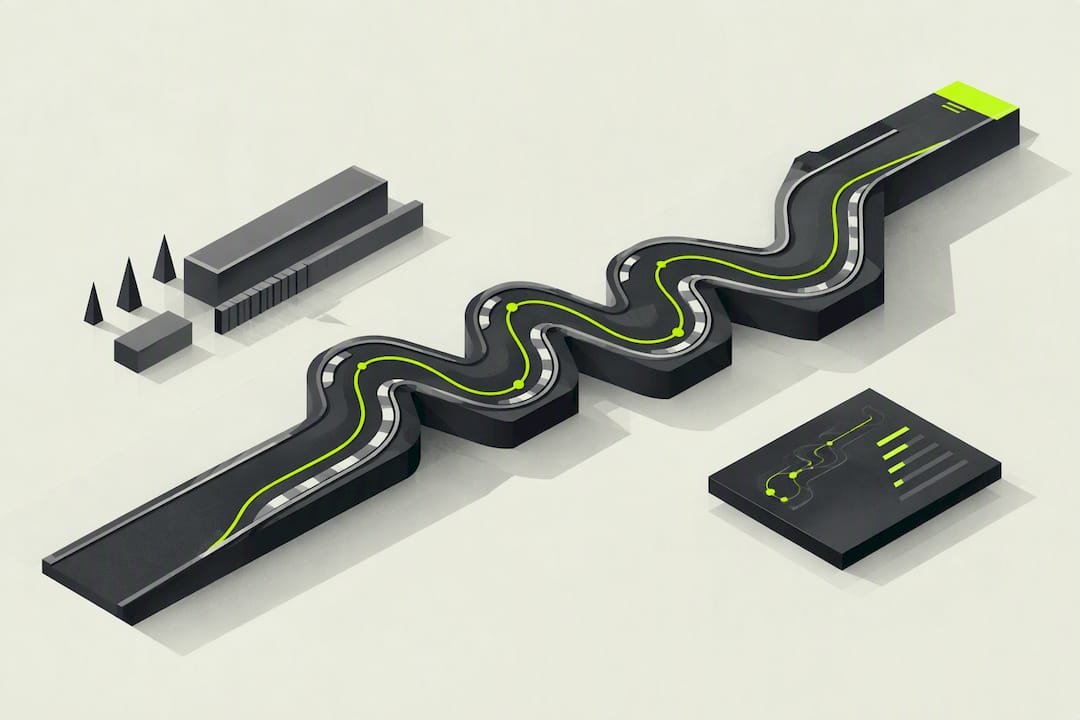
Suzuka's S curves demand one thing above everything else: rhythm. Turns 3 through 7 form a single connected sequence with no reset point, so the highest-impact fix is smoothing your steering and throttle timing to protect exit speed at Turn 7, not just survive Turn 3. Start by isolating sector 1 in Time Trial and running it in short, repeatable blocks until your entry line into Turn 3 stops changing lap to lap.
TL;DR:
- Maintaining smooth steering and throttle timing is crucial for the continuous flow through the S curves, as mistakes compound rapidly across Turns 3 to 7.
- The sequence heavily depends on managing changing radii, a lack of braking references, and precise geometry, requiring real-time grip judgment and load transfer control.
- In dry conditions, a deliberate line chosen early and smooth throttle application largely outweigh aggressive attack, with sector 1 being the key focus for consistent improvements.
- Wet conditions demand more conservative corner approach, gradual throttle, and wider apex margins, since low grip amplifies the impact of steering and throttle errors.
- Setup adjustments should prioritize a balanced downforce level for stability, with fine-tuning of suspension and differential settings, tested through incremental changes and sector 1 split monitoring.
Table of Contents
- What Are the Suzuka S Curves and Why Do They Dominate Sector 1?
- What the S Curves Actually Test: Balance, Aero, and Feel
- How to Drive the S Curves in F1 26 (Dry) Step by Step
- Driving the S Curves in Wet Conditions: What Changes
- Setup Changes That Improve S-Curve Stability and Exit Speed
- Common S-Curve Mistakes and How to Fix Them Fast
- Practice Drills to Build Consistent S-Curve Pace
- How Suzuka's Resurfacing Affects S-Curve Grip in F1 26
- Virew's Take: Fixing S-Curve Weaknesses With AI Lap Analysis
- How Virew Turns S-Curve Data Into Real Lap-Time Gains
- Sources
- FAQ
What Are the Suzuka S Curves and Why Do They Dominate Sector 1?
The S curves sit at Turns 3 through 7, right after the tight left of Turn 1 and Turn 2's short straight. This is where Suzuka's figure-eight layout starts to bite, and it's also where most drivers throw away their sector 1 time without realizing it. In F1 26, you'll carry roughly 200 to 260 km/h through the sequence depending on which apex you're at, with the radius tightening early and opening out again by the time you reach Turn 7.
What makes this stretch different from a normal corner combination is that there's no gap between the elements. Each apex feeds directly into the next, and errors compound because there are effectively no reset points after Turn 1. A car that's a fraction wide at Turn 4 arrives at Turn 5 already out of position, and by Turn 7 you're either carrying a compromised line or lifting to correct it.
Three things define the sequence in F1 26:
- Changing radii: the corners tighten through Turns 3 to 5, then progressively open toward Turn 7.
- No braking reference: unlike a hairpin, there's no single braking marker. You're managing speed continuously through direction changes.
- Compounding geometry: your car's position exiting Turn 4 dictates the width available at Turn 5, and so on down the chain.
Suzuka runs 5.807 kilometers with 18 turns in that distinctive figure-eight shape, and sector 1 is heavily weighted by how well you handle this exact stretch. If you're losing time in qualifying and can't figure out where, the S curves are the first place to check your replay.
What the S Curves Actually Test: Balance, Aero, and Feel
The S curves are less about outright grip and more about how your car transitions load from one side to the other, repeatedly, in quick succession. Former F1 driver Jolyon Palmer has described the sequence as being all about "flow" and "feel," because drivers have to judge grip instantaneously with no reliable reference points once they're through Turn 1. That translates directly into F1 26: you can't rely on a fixed brake marker or a single apex cone. You have to read the car's balance in real time and adjust.
This puts real stress on a few specific systems:
- Lateral load transfer: the car barely settles on one side before it's asked to load the other, which exposes any suspension setup that's too soft or too stiff for quick transitions.
- Aero response: 2026-generation cars react to rapid direction changes differently than older models, and a wing setup tuned purely for straight-line speed will feel nervous mid-sequence.
- Tyre thermal load: sustained high-speed cornering through five linked apexes heats the outer tread faster than a single corner would, which shows up as sliding by Turn 6 or 7 if your tyre pressures are off.
There's also an ECU-level wrinkle specific to 2026-era cars. Quick throttle lifts between the S-curve elements can inadvertently trigger active aero or wing-mode transitions, costing you downforce exactly when you need it to hold a line. Managing throttle modulation smoothly, rather than lifting and reapplying in sharp jabs, helps avoid that penalty. If you haven't adjusted your approach to these systems yet, it's worth reading through how the 2026 cars behave differently before you spend a session chasing a setup problem that's actually a driving habit.
Academic research on S-curve geometry backs this up from a different angle: drivers naturally adopt different speed profiles, S-shaped, U-shaped, or anti-S-shaped, depending on the radius and conditions they're facing. Suzuka's tightening-then-opening geometry through Turns 3 to 7 means the profile that works at Turn 4 isn't the one you want at Turn 6.
How to Drive the S Curves in F1 26 (Dry) Step by Step
Getting the S curves right starts before you even reach Turn 3. Your exit from Turn 2 sets the width you have available, so rushing that corner to save two-tenths often costs you six-tenths through the sequence that follows.
1. Position your entry from Turn 1 deliberately. Don't maximize Turn 1 exit speed at the cost of track position. You want to be slightly toward the outside as you approach Turn 3, giving yourself room to work with a wider, smoother arc rather than a sharp turn-in.
2. Trail brake lightly into Turn 3, then get off the brake early. This isn't a hard-braking zone. A short, progressive trail brake settles the front end, but you want to be back to a neutral throttle state well before the apex so the car can rotate freely into Turn 4.
3. Adopt a lift-turn-lift-turn rhythm through Turns 4 and 5. Rather than sawing at the wheel, think in terms of small, continuous steering corrections paired with equally small throttle lifts. Most drivers use 5th gear through this middle section in F1 26, dropping to 4th only if their setup carries less mid-corner speed than average.
4. Prioritize the exit of Turn 5 over the entry of Turn 6. This is the apex that matters most for cumulative exit speed. If you have to sacrifice precision somewhere in the sequence, sacrifice it at Turn 6's entry, not Turn 5's exit, because Turn 5 sets up everything that follows.
5. Apply throttle in a single, progressive window through Turn 6 into Turn 7. Avoid stabbing the throttle to test grip. A smooth, continuous application keeps your car's aero balance settled and prevents the kind of sudden wing-mode transition that costs downforce mid-corner.
6. Adjust your line slightly for the session type. In Qualifying, a marginally later apex at Turn 5 rewards you with a straighter run to Turn 7 and more exit speed onto the following straight. In Race conditions, favor a more consistent, slightly earlier line you can repeat lap after lap without demanding perfect car placement every time, since tire wear will shift your car's behavior as a stint goes on.
Pro Tip: Record two or three consecutive laps and watch only your steering wheel input overlay. If you see more than two direction corrections between Turn 4 and Turn 6, you're fighting the car instead of flowing with it, and that's costing you more than a bad braking point ever would.
The sequence rewards patience more than aggression. Drivers who try to attack every apex individually tend to arrive at Turn 7 slower than drivers who treat the whole stretch as one continuous corner with five reference points.

Driving the S Curves in Wet Conditions: What Changes
Wet running through the S curves calls for a completely different mindset, not just slower inputs. The biggest change is margin: you need more space at every apex, because a car that's on the edge of grip in the dry is already past it in the wet the moment you ask for a quick direction change.
- Turn in earlier and more gradually. A late, sharp turn-in that works in the dry will unsettle the rear in the wet almost immediately. Start your steering input a touch sooner and spread it over a longer arc.
- Widen your apex tolerance at Turns 4 and 5. Aiming for the exact same apex you'd hit in the dry invites a snap of oversteer mid-sequence. Give yourself a car's width of margin and accept the small time loss.
- Feed the throttle in more gradually through Turn 6 and 7. Progressive throttle application matters even more here since the tires have less lateral grip to spare for a sudden application.
- Manage tire temperature actively. Wet tires that stay too cool through a long green stretch like this lose grip fast. If you're on intermediates as the track dries, expect the S curves to be the first section where you feel the balance shift.
- Watch your ERS deployment. Low-grip conditions mean wheelspin risk is higher on exit, so a slightly more conservative deployment map through this section avoids wasted energy spinning the rear tires instead of gaining exit speed.
The goal in the wet isn't matching your dry pace through this stretch. It's finishing the sequence with the car pointed straight and no correction needed, because in the wet, the time you lose recovering from a slide is far greater than the time you lose driving conservatively in the first place.
Setup Changes That Improve S-Curve Stability and Exit Speed
Your setup choices for Suzuka involve a real trade-off, and the S curves sit right in the middle of it. A medium-to-high downforce baseline balances the stability you need through the sequence against the straight-line speed you'll want at 130R and the back straight. Going too low on downforce chasing a fast lap on paper often costs more time through Turns 3 to 7 than it gains anywhere else on the lap.
A few specific directions worth testing:
- Front suspension stiffness: a slightly stiffer front helps the car respond faster to the quick direction changes through Turns 4 to 6, but push it too far and you'll feel every bump and kerb strike unsettle your line.
- Rear suspension: keep this a touch softer than the front to maintain traction on exit, particularly through Turn 7 where you need the rear tires hooked up for the run toward 130R.
- Differential settings: a smoother differential on-throttle setting reduces the snap you feel when you reapply power after a lift, which matters most between Turns 5 and 6 where throttle application windows are short.
- Brake bias: shift slightly rearward if you're finding the front locking under trail brake into Turn 3, but only in small increments since a bias too far back invites rear instability on entry.
Front-end responsiveness paired with careful rear stability tuning is what the current F1 26 setup guides for Suzuka consistently point to, and that matches what the geometry demands. When you're testing changes, change only one variable per block of three to five hot laps and compare sector 1 splits, not whole-lap times. A whole-lap delta hides what's actually happening in the S curves, since a gain at 130R can mask a loss through Turn 5.
Common S-Curve Mistakes and How to Fix Them Fast
1. Over-correcting mid-sequence. If your steering trace shows repeated small corrections between Turns 4 and 6, you're reacting to instability instead of driving a planned line. Fix: slow your initial steering input by a fraction and commit to a single arc rather than adjusting twice.

2. Carrying too much speed out of Turn 1. A fast Turn 1 exit feels good but often forces you wide at Turn 3, costing more through the S curves than it gained. Fix: test a slightly earlier lift before Turn 1 and compare your sector 1 time, not just your Turn 1 split.
3. Triggering wing-mode instability with sharp throttle lifts. If the rear steps out unexpectedly right after you lift between apexes, you may be causing an aero transition rather than a grip loss. Fix: smooth your throttle release into a gradual taper instead of a sudden lift.
4. Chasing setup changes without isolating the variable. Changing wing angle and differential settings in the same session makes it impossible to know what actually helped. Fix: run one change at a time across three to five laps and track only your sector 1 delta.
Pro Tip: If your sector 1 time improves but your overall lap time doesn't, check your 130R entry speed. A setup that helps the S curves sometimes costs you stability at 130R, and that trade-off needs its own test.
Practice Drills to Build Consistent S-Curve Pace
1. The sector 1 isolation run. Set up a Time Trial session and run only sector 1, resetting after Turn 7, for 8 to 10 consecutive attempts. Track your delta between the best and worst lap. A gap under two-tenths across all runs means your rhythm is consistent enough to build on; a wider gap means you're still finding the line lap to lap.
2. The constrained-steering drill. Deliberately limit yourself to one steering correction per apex through Turns 4, 5, and 6. This forces you to commit to a line earlier and exposes exactly where your entry positioning is off, since you can't paper over a bad entry with a mid-corner correction.
3. The throttle-window drill. Focus purely on where you apply throttle through Turns 6 and 7, aiming for the same physical point on track every lap. Run five laps focused only on this, ignoring your overall time, then check whether your exit speed onto the 130R approach improved.
4. The setup A/B block. Pick one setup variable, front suspension stiffness or differential on-throttle setting, and run three to five laps on each configuration back to back. Compare sector 1 splits directly rather than full lap times to isolate the effect.
5. Race-run tire preservation reps. In a short race session, run 8 to 10 laps focused on carrying slightly less aggression through Turn 4's apex to reduce outer-tire load, then compare your tire wear readout against a run where you drive the sequence at full attack. The pace difference is usually smaller than drivers expect.
Warm your tires with two full laps before any of these drills count. Cold tires through the S curves give a false read on grip and will teach you the wrong habits if you start recording times too early.
How Suzuka's Resurfacing Affects S-Curve Grip in F1 26
Suzuka underwent resurfacing work heading into the 2026 season, and the new asphalt is smooth but starts out with relatively low grip until it's rubbered in. That has a direct practical effect on how you should approach an early session at this track in F1 26.
- Expect a longer effective warm-up window, since a fresh, low-grip surface takes longer to build the tire temperature and track rubber that gives you consistent grip through the S curves.
- Run conservative first laps in Time Trial and Qualifying practice rather than pushing for a personal best on your opening attempt, since the fastest approach after resurfacing is planning for extended warm-ups and stacking short, repeated runs to build grip rather than trusting your first lap's feedback.
- Retest your setup baseline after a few laps, not immediately. A setup that feels unstable on lap one might simply reflect low track grip, not a genuine handling problem.
- Treat your first S-curve impressions of a session as provisional. Grip levels shift meaningfully as the track rubbers in, so don't lock in a line or braking approach based on your very first run through the sequence.
Virew's Take: Fixing S-Curve Weaknesses With AI Lap Analysis
Most drivers who lose time through the S curves don't know exactly where it happens. They feel like the car was "a bit off" through Turns 4 to 6 without pinpointing whether it was entry placement, a late throttle application, or an unnecessary steering correction that cost the actual time.
That's the gap Virew is built to close. Upload a lap through this sector and the analysis flags the specific moment, a slightly wide entry into Turn 3, throttle applied a fraction late out of Turn 6, and turns that into a drill rather than a vague note. Instead of guessing which setup change might help, you get a direct read on whether your last session's issue was driving or car balance.
If you've been fighting the same S-curve inconsistency for a few sessions, analyze a sector 1 lap and see exactly where the tenths are going before you touch your setup again.
— Virew
How Virew Turns S-Curve Data Into Real Lap-Time Gains
Guessing where you lose time through Turns 3 to 7 wastes practice sessions you don't get back. Virew reads the lap you actually drove and tells you, in plain language, whether your Turn 4 entry was too wide, your throttle application into Turn 7 was late, or your steering correction at Turn 5 cost you the exit you needed. That's a different approach from generic setup tips: it's coaching based on your specific run through this exact sequence.
The Free plan gives you a limited number of lap analyses each month, enough to check a session's worst S-curve lap and see what changed. If you're running repeated sector-focused testing, comparing setup A/B blocks or drilling the same apex over multiple sessions, the Pro plan unlocks unlimited analyses and full history, so you can track whether last week's throttle-window drill actually stuck.
Start by uploading a sector 1 lap through the F1 26 lap analysis tool and see exactly where Turns 3 through 7 are costing you time before your next session.
Sources
- Circuit guide: everything you need to know about the Suzuka Circuit
- Empirical study on speed patterns on S-curves (2025)
- Iconic F1 circuit undergoes changes ahead of 2026 season
- F1 26 Japan setup | The best Suzuka car setups F1 2026 Season Pack
- Suzuka: Key Corners, Sectors and What Makes It Unique | F1 Explained
FAQ
What Is the Lap Record at Suzuka?
Suzuka's outright lap record belongs to real-world Formula 1 competition rather than F1 26 sim performance, and it shifts with car regulations each season. For sim racers, the more useful benchmark is your own personal best sector 1 split through the S curves, since that's the segment where consistent gains actually come from technique rather than raw car pace.
Why Is the Corner Called 130R?
130R gets its name from its radius of 130 meters, and while it's not part of the S-curve sequence itself, it directly follows Turn 7's exit. That's why setup choices for the S curves, particularly downforce level, have to account for 130R too, since the two sections pull in slightly different directions on your setup sheet.
Is Suzuka a Hard Track to Drive?
Yes, and the S curves are the main reason. The sequence at Turns 3 through 7 has no reset points after Turn 1, so a small entry error compounds through five linked apexes before you reach a straight. Suzuka's 5.807 kilometer, 18 turn figure-eight layout also demands strong spatial awareness since the track crosses over itself.
Why Is Suzuka So Popular Among Sim Racers?
Suzuka rewards precision and rhythm more than raw bravery, and the S curves are the clearest example of that on the entire lap. Drivers who master the flow through Turns 3 to 7 consistently gain more time there than anywhere else on the circuit, which makes it a favorite for testing genuine driving skill in F1 26 rather than just setup optimization.
How Fast Should I Be Going Through the Suzuka S Curves?
Speed through the sequence typically ranges from 200 to 260 km/h depending on which apex you're at, since the corners tighten through Turns 3 to 5 before opening again toward Turn 7. Your exact speed will vary with your car's downforce setup, so track your sector 1 split rather than chasing a fixed speed number.