
Set ERS Activation to Hold and work in short bursts, run Traction Control Medium with ABS On as your starting baseline, then strip away braking and cornering assists before you ever touch TC. Change one setup element at a time, test it over a focused run of laps, and build from there.
TL;DR:
- Use short ERS bursts of 1 to 2 seconds on corner exits and save longer activations for braking zones to optimize energy deployment.
- Remove driving assists step-by-step, starting with braking assist, then cornering assist, and only lower traction control after exit speeds stabilize.
- Adjust active wing settings based on track type, prioritizing higher downforce for twisty circuits and lower drag for power tracks to manage energy efficiency.
- Fine-tune differential settings with moderate on-throttle and lower off-throttle values to improve stability without sacrificing rotation or grip.
- Focus on smooth, controlled inputs to maintain tire temperatures and driving consistency, especially under changing track and weather conditions.
Table of Contents
- ERS and Overtake mode: mechanics and practical deployment patterns
- Driving assists and progression: ordered steps for safely removing aids
- Setup, active aero and the energy tradeoff: tune wings to match deployment plans
- Steering, braking and slide correction: inputs that recover control
- Session-specific tactics: tailoring control for Time Trial, Qualifying, and Race
- Practice drills and the Virew coaching workflow to fix car-control weaknesses
- Correct use of differential settings for improved car stability
- Techniques for controlling tire temperatures through driving style
- Why reproducible inputs beat chasing extreme setups
- Get a focused read on your own driving with Virew
- FAQ
- Sources
ERS and Overtake mode: mechanics and practical deployment patterns
Overtake mode works differently from older boost systems. It triggers when you are within one second of the car ahead, and once active it raises the harvesting limit and changes the deployment curve so you get more electrical power at higher speeds rather than a flat burst. That makes indiscriminate full-battery dumps wasteful. Setting ERS Activation to Hold instead of Toggle means the boost only runs while you hold the button, which gives you direct control over how much energy you spend and when.
On track, this plays out best as short, repeated inputs rather than one long hold:
- Use 1 to 2 second bursts on corner exits in 4th or 5th gear, where the extra power translates straight into exit speed.
- Save your longest deployment window for the braking zone of the car ahead, where Overtake's higher-speed curve pays off most.
- Release the button slightly before you lift for the next corner so you are not carrying unused battery into braking zones where it does nothing for you.
According to EA's developer notes, Overtake Mode nearly doubles usable power output and changes harvesting behavior once triggered, which is why timing the release matters as much as the trigger itself (F1® 25: 2026 Season Pack tips and tricks).
Driving assists and progression: ordered steps for safely removing aids
A Traction Control Medium and ABS On baseline keeps spins and lockups manageable while you learn the car, without masking every mistake the way Full assists do. From there, work through assists in a fixed order rather than switching several at once.
- Turn off Braking Assist first and relearn your braking points under full pressure control.
- Remove Cornering Assist next, since it affects rotation more directly than braking does.
- Switch the Dynamic Racing Line to corner-only or off once your reference points feel automatic.
- Lower Traction Control from Medium to Low only after exit speeds stay consistent without it.
Test each change the same way: run three consecutive laps and compare your lap times and exit speeds. If either gets noticeably less consistent, go back a step and repeat the drill before trying again.
Pro Tip: Change only one assist per session so you know exactly what caused any gain or loss in consistency.
Setup, active aero and the energy tradeoff: tune wings to match deployment plans
The 2026 cars shift more of their downforce onto active wings, which means wing angle choices now carry a direct energy cost. Independent analysis of the 2026 regulations found that aero load moved toward the wings and that drag sensitivity increased, tying your aero trim decisions to how much battery you have available for deployment later in the lap (Impact of 2026 rules on downforce strategies).
Active wing transitions matter as much as the peak downforce number. A mismatched front-to-rear transition can unsettle the car mid-corner even when your overall setup looks balanced on paper.
- Run higher downforce at twisty tracks where cornering speed matters more than straight-line energy savings.
- Trim toward lower drag at power circuits so the car demands less battery just to hold speed, leaving more for planned Overtake windows.
- Set wing transition behavior conservatively until you can drive the handoff smoothly, then sharpen it once the balance shift feels predictable.
- Build your aero baseline around where you actually plan to deploy, not around a single qualifying lap.
Steering, braking and slide correction: inputs that recover control
Brake in a straight line first, then release pressure progressively as you turn in. That progressive release, rather than an abrupt one, is what lets the rear rotate without snapping.
If the rear steps out, countersteer into the slide and ease off the throttle rather than lifting completely, which keeps weight from slamming onto the front tires. For understeer, the fix is almost always less entry speed and a slightly later apex, not more steering lock.
- Reduce brake pressure gradually through corner entry instead of releasing it all at once.
- Countersteer small amounts first, then add more only if the slide continues.
- Widen your entry line and slow down earlier when the front end pushes wide.
Controller calibration also affects how sharp these reactions feel. Community-tested settings for steering rate, deadzone, and linearity can reduce snap oversteer and lockups before you even touch driving technique (F1 25 controller settings guide).
Pro Tip: A small deadzone increase around center steering often cures twitchy mid-corner corrections more reliably than lowering TC.
Session-specific tactics: tailoring control for Time Trial, Qualifying, and Race
Your control priorities change depending on what you are actually trying to achieve that session.
- Time Trial rewards aggressive, repeatable ERS bursts and a stiffer setup tuned for one perfect lap rather than long-run comfort.
- Qualifying calls for the same aggression on your two clean runs, but with more conservative tire and energy use between attempts since you rarely get a third chance.
- Race stints shift the focus to consistency: manage tire wear and battery across a full run, and treat brake bias as something you nudge rather than set once and forget, moving it rearward slightly as fuel burns off or forward if the rear starts locking under braking.
Each session rewards a different balance of aggression and restraint, and the setup and ERS habits above should flex with that goal rather than staying fixed.
Practice drills and the Virew coaching workflow to fix car-control weaknesses
Fixing car control comes down to repeating a few narrow drills until the input becomes automatic.
- ERS timing drill: five exits from the same corner with identical entry speed and gear, pressing Overtake for exactly 1 to 2 seconds each time to learn the button feel and its effect on remaining battery.
- Assist progression drill: three consecutive laps after each assist change, comparing exit speeds and lap time spread before moving to the next step.
- Slide recovery drill: controlled oversteer entries at a slow, low-risk corner to practice countersteer and throttle modulation without the consequence of a high-speed spin.
Running these drills tells you what changed, but spotting the repeatable error underneath it is harder to do alone. We built Virew around that gap: upload a lap from one of these drills and our AI coaching analysis points to the specific corner or input pattern costing you time, then suggests the next focused drill to run.
Correct use of differential settings for improved car stability
The differential controls how power splits between the rear wheels, and it has a direct effect on both corner entry rotation and exit traction. A higher on-throttle differential value locks the rear wheels together more under acceleration, which helps traction out of slow corners but can make the car resist rotation and push wide if you overdo it on tighter tracks.

The off-throttle setting works the opposite way during braking and coasting. A lower off-throttle value lets the rear wheels rotate more independently, which helps the car turn in but increases the risk of snap oversteer if you trail brake aggressively on top of it.
A practical starting point is a moderate on-throttle value paired with a slightly lower off-throttle value, which gives you traction on exit without making entry rotation unpredictable. From there, adjust in small steps:
- If the car feels reluctant to rotate on entry, lower the off-throttle value slightly.
- If the rear spins or steps out under hard acceleration out of slow corners, raise the on-throttle value.
- If the car feels nervous mid-corner on trail brake, raise the off-throttle value back up slightly rather than reducing brake pressure further.
Test each change over the same corner sequence so you can isolate what the differential is actually doing versus what your throttle and brake inputs are doing. Differential tuning works best as a fine adjustment layered on top of solid inputs, not as a substitute for them.
Techniques for controlling tire temperatures through driving style
Tire temperature in F1 26 responds directly to how you brake, turn, and accelerate, not just to your setup sheet. Aggressive trail braking into a corner spikes front tire temperature quickly, while harsh throttle application on exit does the same to the rears.

Smoothing out your inputs is the most reliable way to manage temperature without sacrificing much pace. Progressive brake release instead of an abrupt one reduces the heat spike on the front axle during entry, and easing the throttle in rather than stabbing it protects the rear tires on exit.
Steering input matters too. Holding a wider, smoother arc through a corner generates less scrub than a tight, late apex that forces the front tires to fight the car's rotation. On long runs, this difference compounds over many laps into a meaningful gap in tire condition between two drivers running the same strategy.
In wet conditions, the relationship flips in importance: keeping tires in their working temperature window becomes about generating enough heat through controlled slip without overdoing it, since cold intermediates or wets lose grip fast. Smaller, more frequent steering corrections tend to build consistent heat better than large, infrequent ones in these conditions.
Matching your inputs to what the tires need that stint, rather than driving the same way every lap regardless of wear, is what separates drivers who manage a full race distance from those who fall off a cliff in the closing laps.
Why reproducible inputs beat chasing extreme setups
Marginal setup tweaks tempt everyone, but a setup is only as good as the inputs applied to it. Consistent braking points and throttle application, tested over repeated laps, produce more reliable gains than any aggressive wing change.
— Virew
Get a focused read on your own driving with Virew
Working through assist removal and ERS drills tells you what to change, but spotting which corner is actually costing you time takes a closer look at your own laps. That is where guided lap analysis helps: upload a lap from F1 26 on PlayStation, Xbox, or PC, and our AI coaching analysis breaks down braking points, corner entry, and throttle application to show exactly where you are losing time.
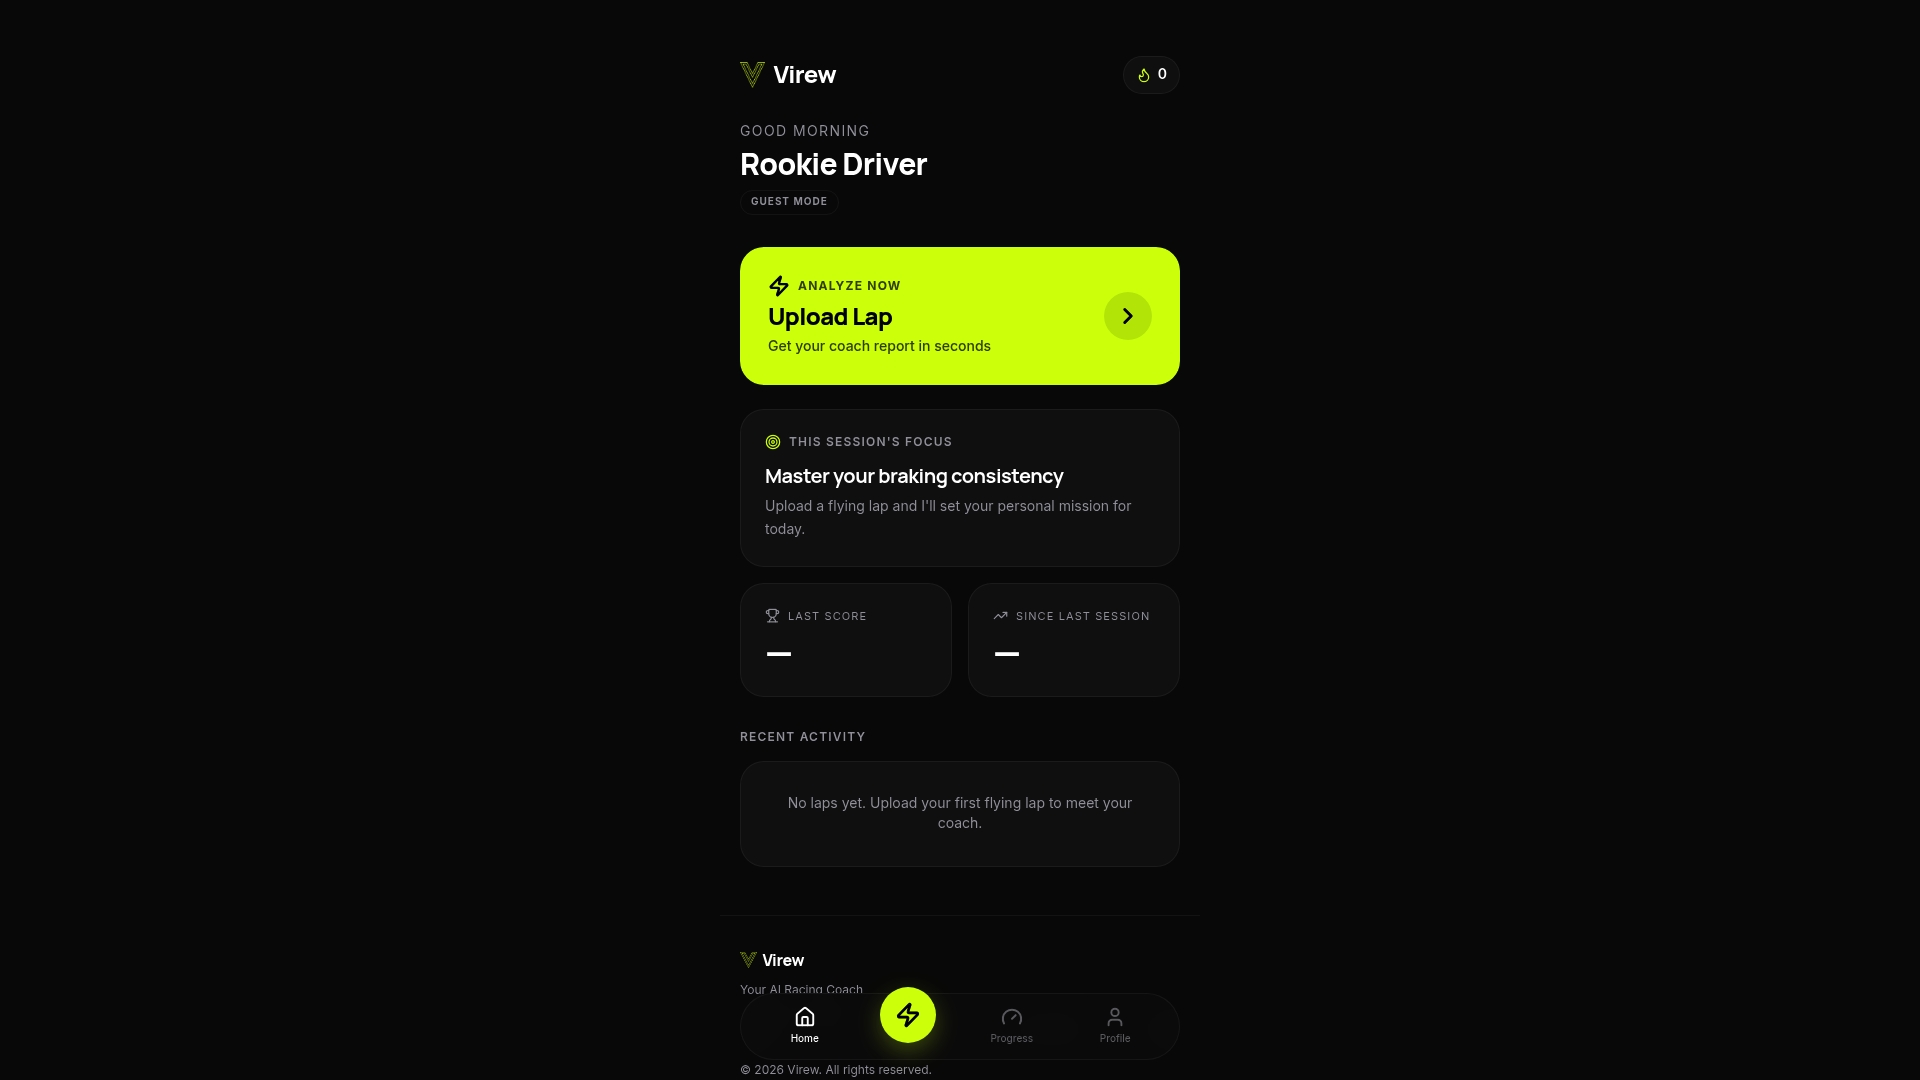
We offer a Free plan with limited lap analyses each month, and a Pro plan that unlocks unlimited analyses and deeper coaching for ongoing progress tracking. Start with a free lap analysis and see which fix the data points to first.
FAQ
Should I use Toggle or Hold for ERS activation in F1 26?
Hold gives you more precise control because boost only runs while the button is pressed, which matches the short burst technique recommended for corner exits. EA's own guidance for the 2026 Season Pack recommends switching from Toggle to Hold for this reason (F1® 25: 2026 Season Pack tips and tricks).
What assists should I remove first in F1 26?
Remove Braking Assist before Cornering Assist, then adjust the Dynamic Racing Line, and only lower Traction Control once exit speeds stay consistent without it. This order lets you isolate exactly which change affected your consistency.
How do I stop snap oversteer on a controller?
Snap oversteer on a controller often comes from a steering deadzone that is too small or a linearity curve that reacts too sharply near center. Community-tested calibration settings for steering rate and deadzone can reduce this before you change any driving technique (F1 25 controller settings guide).
What differential setting helps most with stability?
A moderate on-throttle value paired with a slightly lower off-throttle value gives reliable exit traction without making corner entry unpredictable. Adjust in small steps and test over the same corner sequence so you can tell what the differential changed versus your own inputs.
How much downforce should I run for energy management?
Run higher downforce on twisty tracks where cornering speed outweighs straight-line energy savings, and trim toward lower drag on power circuits to preserve battery for Overtake windows. The 2026 aero changes tie wing angle more closely to energy cost than in previous seasons (Impact of 2026 rules on downforce strategies).
Sources
- F1® 25: 2026 Season Pack tips and tricks
- Impact of 2026 rules on downforce strategies
- F1 25 controller settings guide