
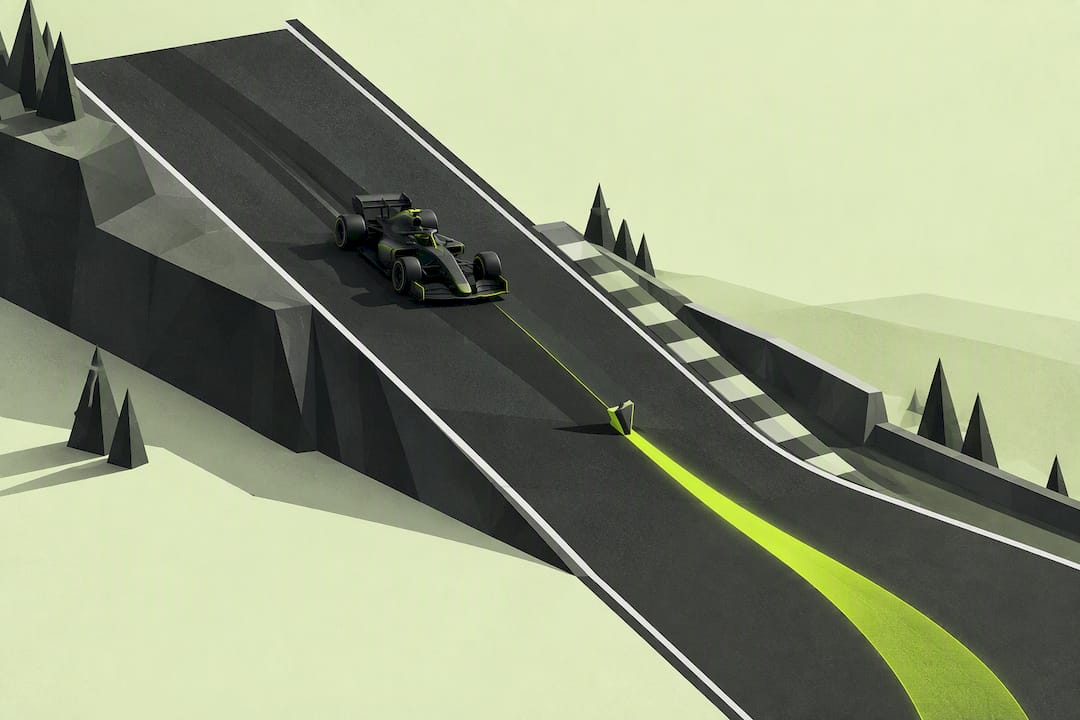
Hit the brakes late and hard, then bleed off pressure in one smooth taper instead of releasing all at once, holding a trace of trail brake into the corner. Expect to nudge brake bias slightly forward for stability on the initial hit, then adjust by feel lap to lap. In Time Trial and Qualifying, push that entry speed to the limit; in Race, prioritize a release shape that helps maintain tire life and consistency over the whole stint.
TL;DR:
- Using a smooth taper release shape on downhill corners improves stability and prevents rear step-out caused by rapid brake release.
- Shifting brake bias one to two clicks forward during steep downhill zones can help calm the rear and maintain control under high load.
- Trail braking should be lighter and more delicate downhill, with a gradual release to avoid upsetting the front tires and losing grip.
- Repeated practice focusing on consistent brake release and bias adjustments can significantly enhance downhill braking feel and lap times.
- Virew's lap analysis service offers personalized feedback on braking points and release techniques tailored to your specific laps and circuit conditions.
Table of Contents
- Why Downhill Braking Behaves Differently in F1 26
- Core Downhill Braking Techniques to Practice Now
- Adjusting Downhill Braking for Time Trial, Qualifying, and Race
- Controller and Wheel Setup for Downhill Braking Zones
- Repeatable Drills to Build Downhill Braking Feel
- How Downhill Braking Compares Across Vehicles and Disciplines
- Virew's Coaching Perspective on Downhill Braking
- Get Lap-Specific Coaching From Virew
- Sources
- FAQ
Why Downhill Braking Behaves Differently in F1 26
Gravity does something specific on a downhill entry: it keeps pushing the car's weight forward even after you've already loaded the front tires under braking. That extra forward transfer leaves the rear axle lighter than it would be on a flat braking zone, and a light rear is a nervous rear. Release the brake pedal too fast on a hill like the drop into Turn 8 at Suzuka or the plunge before Eau Rouge, and the rear can step out before you've even started turning.
The 2026 regulation set adds another layer to this. Cars now run 350 kW of MGU-K harvesting, nearly double the previous limit, and that energy recovery happens through the rear axle during braking. Brake-by-wire systems blend that electrical retardation with the mechanical calipers so the pedal still feels consistent, but the way rear braking torque gets applied has genuinely changed. Brembo's engineering overview notes that mechanical and electrical braking now have to be managed as one system to keep rear stability predictable.
You'll feel this before you can measure it. Watch how quickly the car starts to rotate the instant you turn the wheel during brake release, and notice how much resistance you feel through the steering as the fronts load up. If the rear feels like it's arriving late to the rotation on a downhill entry, that's your cue to release smoother, not faster.
A downhill braking zone doesn't just ask you to brake harder. It asks you to release smarter, because the rear axle has less patience for a sudden change than it does on flat ground.
Core Downhill Braking Techniques to Practice Now
The shape of your brake release matters more downhill than almost anywhere else on the circuit. Slam the brake on late and hard to kill speed fast, then taper off in a smooth curve rather than snapping your foot or thumb off the pedal.
On a wheel, you're chasing the same shape through pressure and force feedback feel, easing your foot off progressively rather than lifting all at once, and staying alert to any front tire chatter that signals you released too soon.
Trail braking amounts should shift depending on the corner:
- Hairpins after a steep drop (like the entry into Turn 12 at COTA): hold 10 to 20 percent brake pressure through to just before the apex for maximum rotation.
- Medium-speed downhill corners: taper trail braking down to somewhere between 10 and 5 percent, just enough to keep the front planted without overloading it.
- High-speed downhill sweepers: keep trail braking minimal. A small trace of pressure is enough; anything more just scrubs speed you don't need to lose.
Start turning the wheel as you taper pressure, not after you've fully released it. The smoother your release curve, the earlier you can begin unwinding the wheel on exit, because the front tires stay loaded and predictable through the transition instead of snapping to full grip all at once.
The most common mistake is on-off braking: full pressure, then an abrupt lift, rather than a continuous bleed. That abrupt release overloads the front tires right when you need them settled for turn-in, and it's a habit that shows up as understeer or a twitchy rear on almost every downhill zone in F1 26. The fix is deliberate: practice releasing the brake like you're pouring water out of a glass, not flipping a switch. The second mistake is going to full throttle too early on exit, before the car has finished rotating, which just adds understeer on top of an already compromised entry.
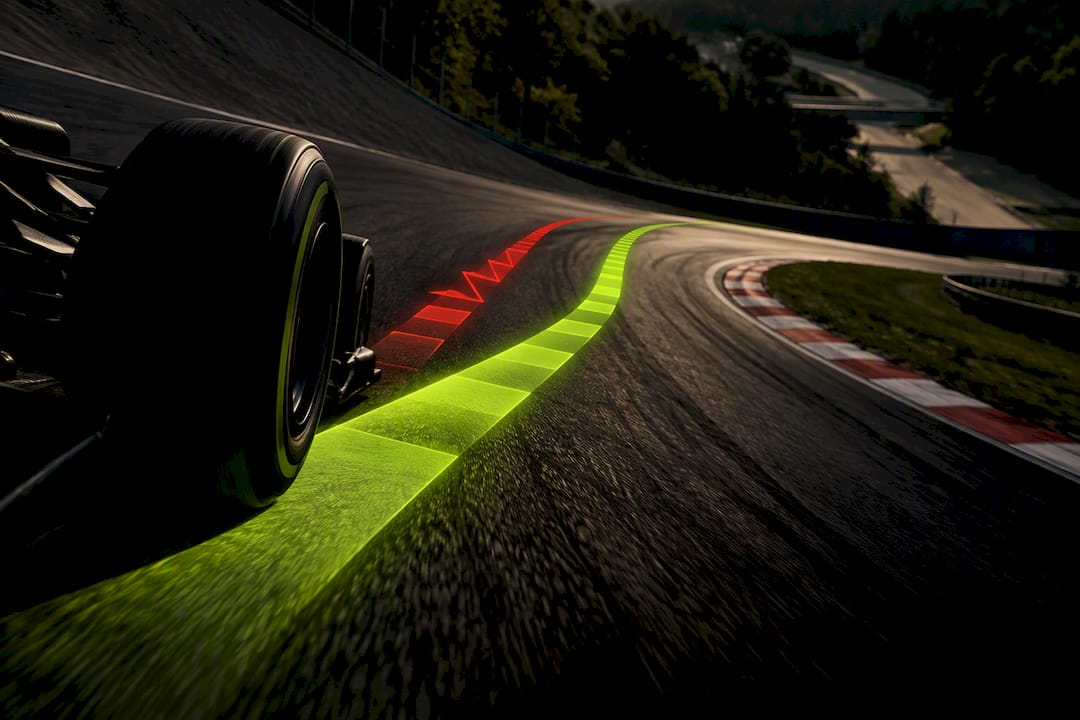
Pro Tip: Pick one downhill corner and run five laps focusing only on the release. Ignore your lap time completely and just try to make each release feel identical to the last one.
Adjusting Downhill Braking for Time Trial, Qualifying, and Race
Session goals change what "correct" downhill braking looks like, and treating every lap the same is a common way to leave time on the table.
- Time Trial: chase maximum entry speed and accept slightly more trail braking if it genuinely buys you exit speed. Run short blocks of five or six laps on the same corner, adjusting only the release timing between attempts.
- Qualifying: prioritize a clean, repeatable apex over squeezing out the last few percent of entry speed. Pull back on risky late trail braking if it's costing you consistency between laps, since one scrappy lap in Qualifying can cost more than a tenth per corner ever saved.
- Race: lean toward stability and tire life. Release the brake earlier and more smoothly, and keep bias slightly more forward than your Time Trial setting to avoid repeatedly overloading the fronts lap after lap.
- Practice structure: in Time Trial, isolate the corner. In Qualifying prep, run full laps and judge variance. In Race prep, run five to eight lap stints and watch how your braking feels change as the tires wear.
Controller and Wheel Setup for Downhill Braking Zones
Your input settings decide whether the technique above is even possible to execute cleanly, so it's worth getting the basics right before blaming your own reactions.
- Controller: start with a small deadzone just large enough to avoid accidental brake input, and set linearity somewhere in the 25 to 35 range for finer control over the middle of the pedal travel. Practice the same release sequence mentioned earlier: full pressure, then stepping down through roughly 70, 50, 30, and 10 percent as you approach the apex.
- Wheel: pay attention to force feedback weight through the wheel rim as the fronts load up under braking; a sudden lightening usually means you've released too fast. Start brake pressure and bias in the same range as controller users and adjust from there based on how quickly the rear settles.
- Brake bias: for steep downhill zones, start one to two clicks forward from your baseline setup to calm the rear on the initial hit. Only move bias rearward if you need more rotation and you're confident you can control the added rear lock risk that comes with it.
- ABS and traction control: keep ABS On while you're still learning the release shape and bias balance. Move toward ABS Off only once your release curve is consistent and you're not relying on the system to save a late lockup.
Repeatable Drills to Build Downhill Braking Feel
You don't need any data tools to build this skill. You need repetition, a corner you know well, and a clear focus for each lap.
- The 10-7-5-3-0 release drill: on a downhill braking zone, consciously step your release through five mental checkpoints from full pressure down to zero at the apex. Run six to eight consecutive laps and try to make each taper feel identical.
- The early-brake apex drill: brake slightly earlier than you think you need to, then focus entirely on making the release as smooth as possible to the apex. Compare your exit speed and how consistent it feels lap to lap; a smoother release from a slightly earlier point often beats a late, rushed one.
- The bias micro-drill: shift brake bias one click forward for five laps and pay attention to how much calmer the rear feels on initial application. Revert to your baseline for five laps and note the difference in steering feel and how often you're catching small rear slides.
Structure each session in blocks: two or three warmup laps to get a feel for grip, then six to ten focused drill laps on one variable, followed by a single hot lap where you try to put it all together.
| Drill | Focus | Laps | What to watch for |
|---|---|---|---|
| 10-7-5-3-0 release | Smooth taper shape | 6 to 8 | Consistent feel each lap |
| Early-brake apex | Release smoothness | 6 to 10 | Exit speed and repeatability |
| Bias micro-drill | Rear stability | 5 + 5 | Steering feel, lock frequency |
How Downhill Braking Compares Across Vehicles and Disciplines
F1 26's downhill zones share a common thread with other high-speed disciplines, but the details diverge fast once you look closer. In an F1 car, the combination of massive aerodynamic downforce and brake-by-wire regeneration means the rear stays relatively controllable even under heavy downhill load, provided your release is smooth. A GT-style car, without the same downforce or energy recovery complexity, tends to reward a slightly earlier, more mechanical brake release because there's less aero grip holding the rear down at speed.
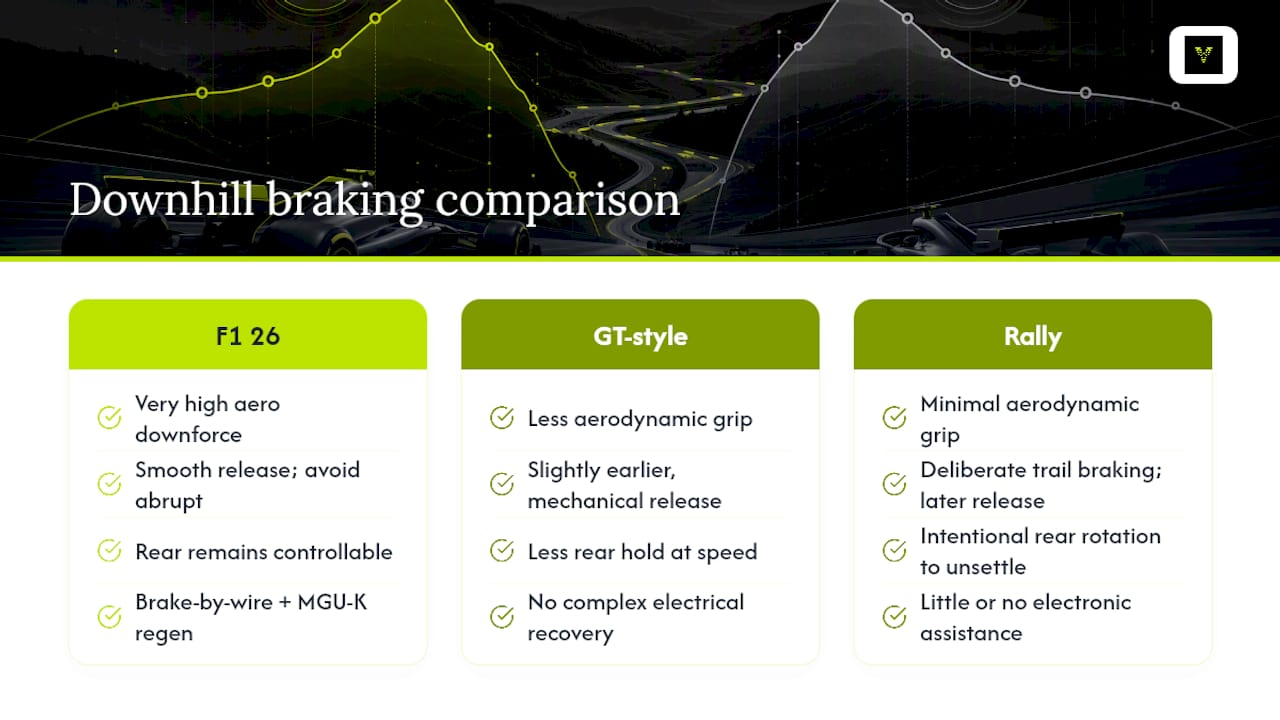
Rally-style driving on a downhill stage relies far more on trail braking and deliberate rear rotation, since the goal is often to unsettle the car intentionally to point it into the corner. That's the opposite instinct from what works in F1 26, where an unsettled rear on a downhill entry usually costs you time rather than helping you rotate.
The common thread across all of them is weight transfer management. Every discipline that deals with downhill braking is fighting the same physics: gravity adding to the forward weight shift that braking already causes. What changes is how much grip and electronic assistance you have to work with while managing it. F1 26's blend of high aero grip, brake-by-wire, and MGU-K harvesting makes the car more forgiving of a good technique and less forgiving of a bad one, since a bad release compounds across both the mechanical and electrical braking systems at once.
Virew's Coaching Perspective on Downhill Braking
Treat every downhill zone as a single-variable experiment. Adjust your release shape, brake bias, or pressure curve one at a time, and judge by feel over several laps whether the change improves performance.
This is the same logic Virew builds coaching around: Drive, Analyze, Improve, Repeat. A corner like the downhill drop into Turn 12 at COTA rewards a different release than the tighter, shorter downhill braking zone before Monza's Turn 1, and no single bias setting fixes both. The goal isn't a universal setup number. It's building the habit of testing one change, feeling the result, and locking in what actually works for that specific corner.
— Virew
Get Lap-Specific Coaching From Virew
Drills teach you the shape of a good release, but they can't tell you exactly where your own laps are losing time on a specific downhill corner. That's the gap Virew closes. Upload footage of your F1 26 laps and get plain-language coaching on your braking points, trail braking amounts, and corner entry, broken down by session type and by the actual car and conditions you were driving in.
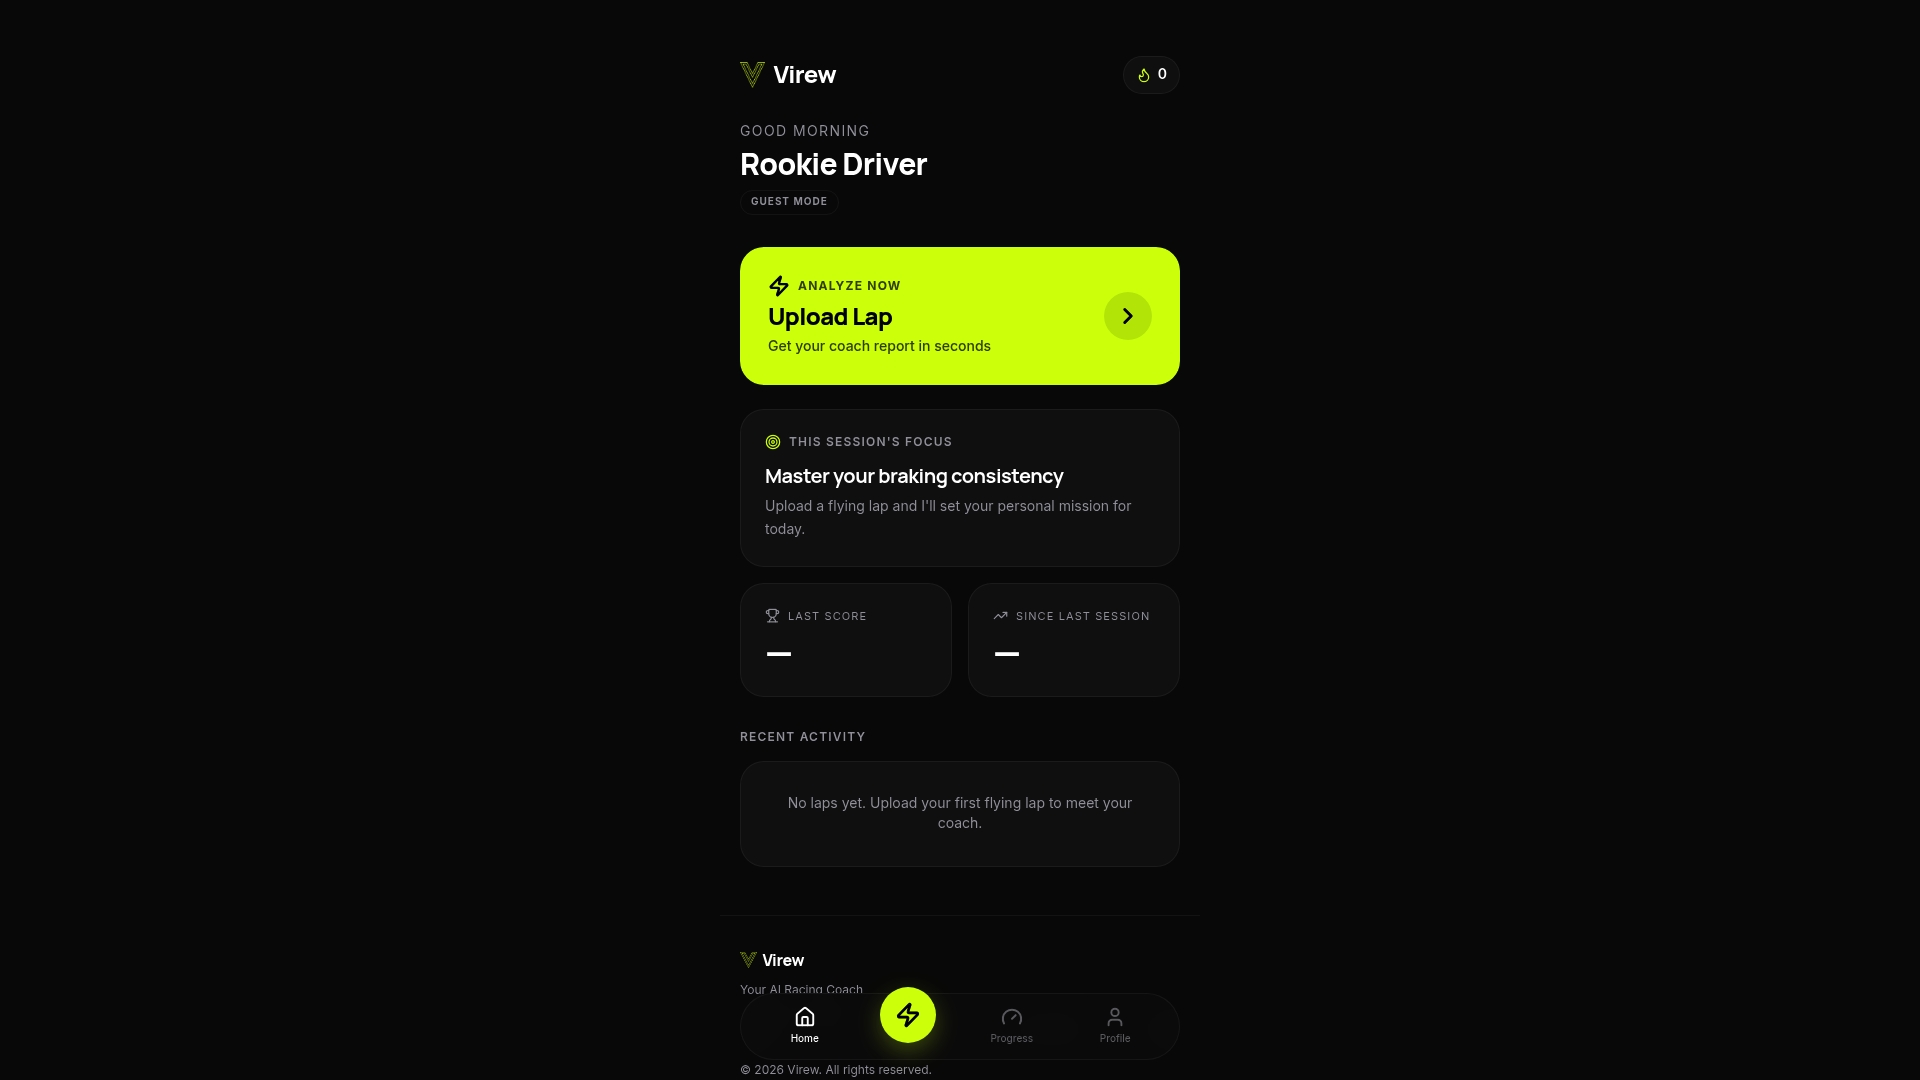
Virew's free plan gives you a limited number of lap analyses each month, enough to test whether coaching feedback changes how you approach a downhill zone you've been struggling with. If you want unlimited analyses and deeper coaching history, the Pro plan unlocks that. Start by checking out how lap analysis works for F1 26 and upload a lap from your next session on a downhill-heavy circuit to see where the release shape you just practiced is actually paying off.
FAQ
What Is the Best Braking Technique for Downhill Corners in F1 26?
Brake late and hard on initial application, then taper off smoothly rather than releasing all at once, holding a small trace of trail brake into the apex. This keeps the rear axle settled during the extra forward weight transfer that gravity adds on a downhill entry.
Should I Change Brake Bias for Downhill Sections?
Yes, shifting bias one to two clicks forward from your baseline setup for steep downhill zones typically calms a light rear during the initial brake hit. Only move bias rearward if you need more rotation and can control the added rear lock risk that comes with it.
How Do I Know if My Release Is Too Abrupt?
Watch how the car rotates the instant you turn in. If the rear feels like it snaps or steps out right as you unwind the brake, your release curve is too sharp and needs a longer, smoother taper.
Does Downhill Braking Affect Tire Wear in F1 26?
Repeated hard, abrupt braking on downhill zones loads the front tires more aggressively than a smooth release does, which accelerates front tire wear over a race stint. A progressive release and slightly more forward bias help conserve tire life without sacrificing much entry speed.
Can Virew Help Me Improve My Downhill Braking Specifically?
Virew reviews your uploaded F1 26 laps and gives plain-language coaching on braking points, trail braking amounts, and corner entry for the specific circuit and session you drove. Details on how the analysis works are available on Virew's coaching guide.