
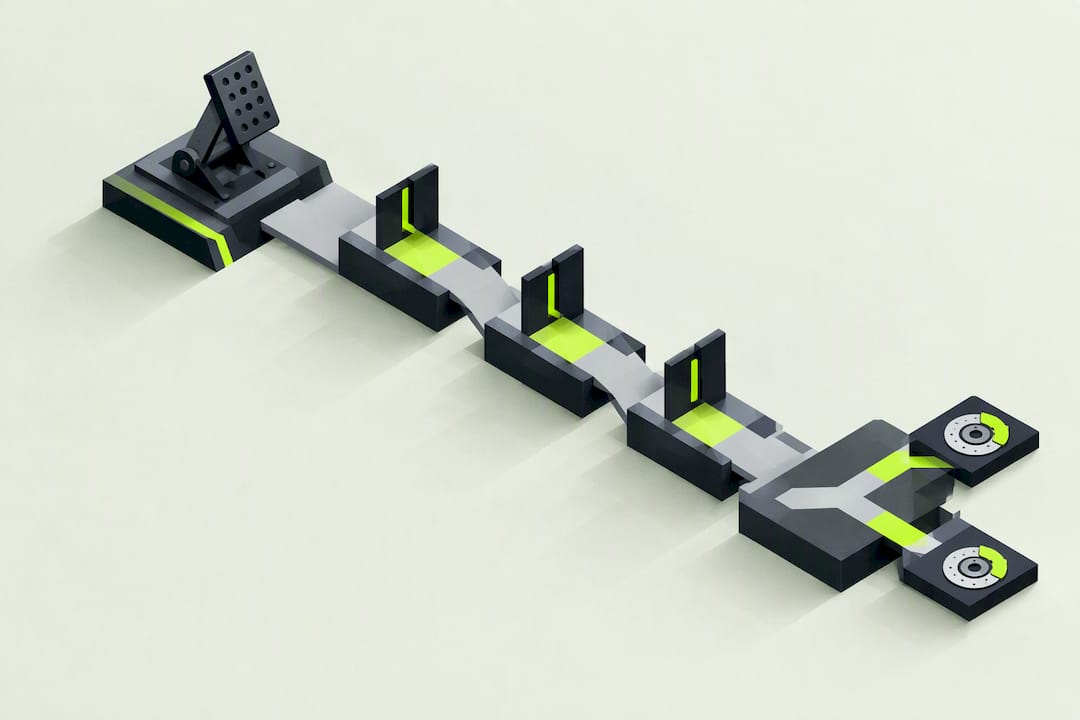
Brake pedal calibration in F1 26 means three things working together: your hardware and in-game input settings, your brake pressure and bias baseline, and the release technique you use at corner entry. The fastest fix is also the simplest. Open Settings > Controls > Calibration and confirm the on-screen brake bar hits 100% when you press fully. From there, your baseline changes depending on whether you're chasing a single lap in Time Trial or Qualifying, or managing tire wear and traffic across a full Race distance.
TL;DR:
- Proper calibration requires the brake bar to reach 100 percent when pressing the pedal fully, ensuring all settings build on an accurate baseline.
- Adjust deadzone, saturation, and linearity settings based on hardware type, with load cell pedals needing zero linearity and potentiometer pedals often benefiting from small deadzones.
- Brake pressure should be set near 92 to 98 percent with load cell hardware and around 85 to 92 percent for controller players, with bias tuning done in small steps to avoid locking or rear instability.
- Mastering braking techniques—threshold, trail, or drop braking—is crucial, with each suited to different corner types and interaction with steering to prevent grip overextension.
- Consistent verification, including straight-line brake tests and bias adjustments, is essential for reliable lap times and for making incremental, effective improvements.
Table of Contents
- How Do You Calibrate Brake Pedal Input in F1 26?
- How Do You Set Brake Pressure and Bias in F1 26?
- Braking Technique: Threshold, Trail, and Drop Braking
- A Quick On-Track Routine to Verify Your Settings
- How Virew Helps After You Calibrate
- Why Calibration Is a Marginal Gain, Not a Magic Fix
- Turn Calibration Runs Into Real Lap Time
- Sources
- FAQ
How Do You Calibrate Brake Pedal Input in F1 26?
Calibration exists to make sure the game reads your pedal the same way your foot moves it. Get this wrong and every other setting you touch, bias, pressure, technique, is built on a shaky foundation
Start in Controls > Calibration. Press the brake pedal fully to the floor and watch the on-screen test bar. It needs to reach 100% travel or the game is capping your maximum brake force before you've even applied full pressure.
From there, three settings do the real work:
- Deadzone: Keep it at 0 to 2% on quality hardware. Only push it to 1 to 5% if your pedal registers a phantom brake input while your foot is off it, a common issue with worn or dragging potentiometer pedals.
- Saturation: Leave it at 0 unless your test bar physically can't reach 100% no matter how hard you press. Raising saturation artificially stretches a short travel range to fill the full scale.
- Linearity: Set it to 0 on load cell pedals, since load cells already respond to force rather than distance. Controller players often need 25 to 35 to soften that hair-trigger initial bite from the trigger.
Hardware matters here more than most drivers realize. A load cell reads pressure, so it gives you fine control near the top of the brake curve where trail braking happens. A potentiometer pedal reads distance, which means the last few millimeters of travel do most of the work, and that's exactly where accidental overlap between throttle and brake shows up. If you're on a direct-drive wheelbase with a gear-driven pedal set, a small deadzone bump can also quiet mechanical jitter that the game misreads as pedal flutter.
Once you've set these, verify them properly. Drive down a long straight, lift off, and check that no residual brake input shows on the HUD indicator. A dragging brake input is one of the most common causes of mystery lap time loss, and it's invisible unless you actually check for it.

Pro Tip: Run this straight-line test after every hardware change, new pedal springs, a firmware update, a different mounting angle. Calibration drift is real, and it's silent until it costs you three tenths into Turn 1.
How Do You Set Brake Pressure and Bias in F1 26?
Brake pressure sets the maximum force your brakes can generate. Brake bias splits that force between the front and rear axles. They're not the same adjustment, and mixing them up is how drivers end up chasing the wrong fix.
Your baseline depends heavily on your hardware and whether ABS is on:
- ABS on: Run pressure around 100%. The system manages lockup for you, so there's little reason to back off.
- ABS off, wheel with load cell: Settle around 92 to 98% pressure, giving yourself a small margin before the rear steps out under maximum load.
- ABS off, controller: Start closer to 85 to 92%, since trigger modulation is coarser than a load cell and full pressure makes lockup harder to catch.
Bias baseline: in dry conditions, most setups land in the mid-50s front, roughly 56 to 58% front. Adjust in small steps: 1 to 2% at a time, never a wholesale swing
Bias and pressure aren't locked once you leave the garage. You can change both in Garage > Car Setup > Brakes before a session, and nudge bias live through the MFD quick menu on track. Map that adjustment to an easy-access button so you can shift it between a heavy braking zone and a light flick corner without diving through menus mid-lap.
If the front locks under heavy braking, drop pressure by 2 to 3% before you touch bias, since over-correcting bias to fix a pressure problem often just creates a new one at the rear. If the rear feels loose or steps out on turn-in, shift bias 1 to 2% forward and reassess over several laps rather than jumping straight to another change.

Braking Technique: Threshold, Trail, and Drop Braking
Calibration and bias only matter if your foot does the right thing with them. Three techniques cover almost every braking zone in F1 26, and picking the wrong one for the corner is a bigger time loss than a slightly off bias setting.
- Threshold braking is straight-line braking at the edge of grip, used for high-speed, low-rotation stops like the entry to Monza's first chicane or Spa's Eau Rouge approach when you're carrying a straight line into the zone.
- Trail braking carries a taper of brake pressure into the corner while you add steering lock, useful for slower, more rotational corners where you need the front tires loaded to help turn the car.
- Drop braking applies a strong initial hit, then releases quickly and almost fully before you commit steering input, a pattern that tends to suit F1 26's high-downforce cars better than extended trail braking in many medium and high-speed corners, since these cars generate more front grip once you're off the brake and rotating on throttle rather than mid-brake.
The interaction between steering and braking is the part most drivers get backwards. Every degree of lock you add reduces the front tire's remaining grip budget for braking, so the more you turn, the less brake force the tire can absorb without sliding. Think of it as a shared budget: full brake and full lock at the same time overdraws the account every time.
The practical shape looks like hit, taper, steer. Hit the brake hard on the straight portion of your approach, taper it down as you start to turn in, and finish releasing before you're at maximum steering angle. Holding full brake pressure into the corner while adding lock is the single most common way drivers push the front wide or trigger a snap of understeer that costs the rotation for the rest of the corner.
Pro Tip: In Qualifying, push your release point later and sharper since you only need one clean lap to hold together. In a Race, build in a slightly earlier taper on worn tires; grip drops as the stint goes on, and a technique that worked on lap 2 can bite you on lap 22. The 2026 cars respond differently under braking than previous generations, so it's worth re-testing your release timing rather than assuming last year's habits still apply.
A Quick On-Track Routine to Verify Your Settings
You don't need telemetry to know if your calibration and bias are actually working. Three checks on track tell you almost everything.
- Run three full-brake stops. Accelerate to a decent speed, then brake as hard as possible and watch the HUD brake indicator drop cleanly to zero with no lingering input once you release.
- Run the two-corner bias test. Pick one heavy, high-speed stop and one low-speed hairpin. Nudge bias 1 to 2% and run each corner three times, comparing how the front and rear behave at both ends of the speed range.
- Change one variable at a time. Adjust pressure or bias, then run 2 to 4 laps before judging the result. Changing two settings together makes it impossible to know which one actually fixed or broke your braking.
Wet conditions need a separate check entirely. Release your brake earlier than you would in the dry, use a gentler initial hit rather than a sharp drop, and shift bias slightly forward to reduce the chance of a rear snap on a wet surface with less mechanical grip to hold the rear axle stable. Test this in its own session rather than assuming your dry settings will simply work at reduced grip.
How Virew Helps After You Calibrate
Once your pedal calibration and bias baseline are set, the real gains come from what you do next. Some AI coaching tools review uploaded F1 26 laps and analyze braking, brake point consistency corner to corner, release shape, and entry speed patterns across a stint.
Coaching adjusts by session type. A Time Trial or Qualifying lap gets feedback on aggressive release timing and late braking points, while Race laps get flagged for consistency drift as tires wear. The loop is simple: calibrate, run a set of laps to test the new baseline, upload them, work through the drills you get back, then retest. That's the Drive → Analyze → Improve → Repeat cycle in practice.
Why Calibration Is a Marginal Gain, Not a Magic Fix
Calibration alone won't make you two seconds faster. What it does is remove the noise, so the techniques you practice actually stick lap after lap. Test your bias and pressure in the exact session type you plan to race, and keep dry and wet setups completely separate. Small, deliberate changes beat guesswork every time. Calibrate once properly, then let disciplined repetition do the rest.
— Virew
Turn Calibration Runs Into Real Lap Time
Some AI tools are designed for the loop this article describes: you calibrate, drive a set of laps, then upload them to receive detailed analysis of braking, corner entry, and consistency. Such tools analyze the lap driven and adapt feedback depending on session type and weather conditions.
Start with a free lap upload to see how the AI analysis works, then decide if the Pro plan's unlimited analyses fit your practice routine. Either way, your next calibration test lap is a better use of track time when you know exactly what it changed.
Sources
- Steering Wheel Driving Controls - PC
- F1 26 Wheel Settings Guide for Every Platform - SimStaff
- F125 brake pressure vs brake bias
- how to trail brake on controller in F125
- 5 Braking Mistakes Destroying Your Laps In F1 25 (How To Fix Them)
FAQ
What Is the Correct Brake Deadzone for F1 26?
Most quality pedals need only 0 to 2% deadzone. Push it to 1 to 5% only if the game shows a brake input while your foot is completely off the pedal.
Should I Use Linearity on a Load Cell Pedal?
No, keep linearity at 0 on a load cell since it already reads force accurately without adjustment. Controller players benefit more from adding 25 to 35 linearity to soften the trigger's initial bite.
What Brake Bias Should I Run in the Dry?
A dry baseline around 56 to 58% front works for most cars and tracks.
Is Drop Braking Better Than Trail Braking in F1 26?
Drop braking, a strong initial hit followed by a quick release, tends to suit F1 26's high-downforce cars better than extended trail braking in most medium and fast corners. Trail braking still has a place in slower, more rotational corners where you need front load to help the car turn.
Can Virew Analyze My Braking After a Calibration Change?
Yes, Virew reviews your uploaded laps for brake point consistency, release shape, and entry speed patterns, then tailors feedback to whether you ran Time Trial, Qualifying, or a Race stint. Pricing and plan details are on the Virew site.